

For the process of the wall paint, I started first with a general idea. What kind of theme I want create, Who is going to see, How many cans of sprays I wold need for making the draw, etc.
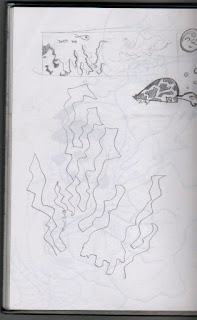
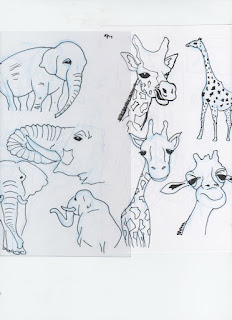
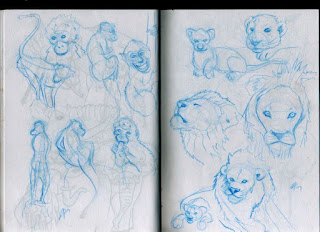
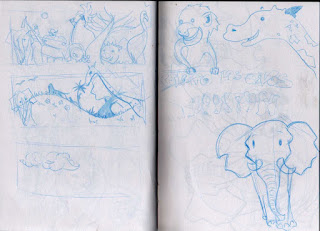
After that, I started to do some sketches to form the basic shapes of the characters and the landscape that I wanted. Then I did the final illustration with Digital Media( Adobe Photoshop CS3 )and I printed it.
Then I took some photos of the wall and with the Photoshop I put in a new layer the final illustration to see the possible final result. If was OK Iwould start to paint.
the second part was make the final graffiti, Firt of all, I mark the lines with a soft color spray, then I started to fill with colors and finally I put a black contour. For the typography I created some stencils.And that's it.Here yopu can see some images of the process, the Making Off. I hope you like it. Thanks
Para o proceso do mural, Empezei primero cunha idea xeral. Que clase de tema quería crear, Quen o iba a ver, Cuantos botes de pintura necesitaría para facelo, etc.
Despois diso fixen alguns bocetos dos personaxes e o paisaxe xeral coa composición que quería mostrar. Fixen a ilustración final con Medio Dixital (Adobe Photoshop CS3) e o imprimín.
Tamén tomei algunhas fotos do muro no que iba a pintalo e tomei a ilustración final e a puxen nunha nova capa cun modo de fusion de capa Luz Suave para que quedase vistosa e contrastada.
Se estaba ben empezaría con ela.
A segunda parte foi facer o mural cos botes. Empezeii para a cor base con pintura acrílica e rodillo, e para os personaxes e plantas utilizei sprais da marca Montana Colors das variedades Alien, Hardcore e 94.
Finalmente lle puxen o contorno negro e fixen as letras do colexio cunha plantilla.
E aqui adxunto algunhas imaxe do proceso, ou "como se hizo". Espero que lles guste. Graciñas.
No hay comentarios:
Publicar un comentario